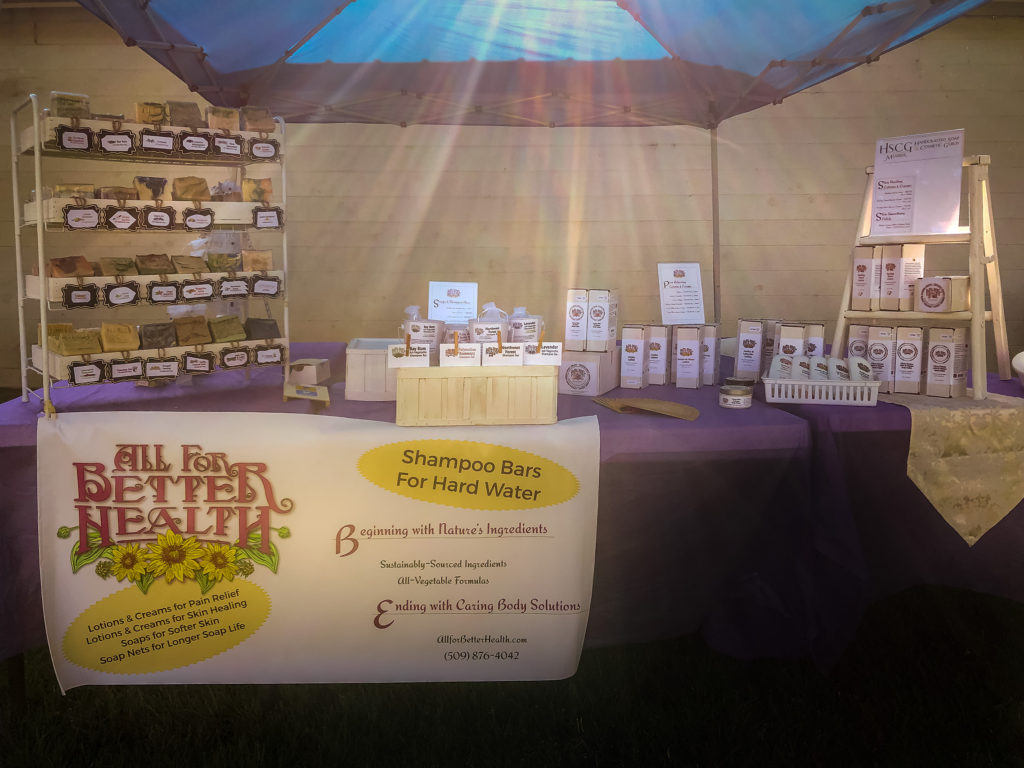
My journey to making hot process soap began while we were living in Bella Coola, British Columbia, Canada. They had a wonderful farmer’s market every Sunday morning from June through September. You could buy fresh produce and crafts—all produced locally.
The next summer I secured a table and began selling artisan breads, low-sugar jams and crafts. One week, a local soap maker appeared at the table next to mine. She encouraged me to explore soap making for myself.
Cold-Process Soap Making
I began with the method she used, cold-process. However, this didn’t work out well for me. I wanted to make 100% vegetable soap, and I thought I’d found the tool for creating the perfect recipe at Majestic Mountain Sage. However, having the right amount of lye and oil doesn’t a perfect soap make. The batch refused to become soap!
Hot-Process Soap Making
That’s when an internet search to solve the problem led me to the “hot-process” soap method. I put the stubborn batch on the stove, and voilá. I had soap. For years, making hot process soap remained my primary soap making method.
While the soap wasn’t as beautiful as my friend’s, it was ready-to-use within days. Even one batch that I thought was a bit harsh turned mild within a few weeks.
Advantages of Hot Process
The main advantage of cooking your soap is the guarantee you’ll have a complete reaction between the lye (which is extremely caustic) and the oil (which reacts to the lye by becoming soap). Once the soap looks like a glob of lumpy Vaseline®, it’s safe to touch with your bare hands.
The second advantage is that there’s no need to worry about the soap reacting with the air before it finishes curing. Cold-process soap often develops a layer of soda ash, while hot-process soap doesn’t.
Disadvantages of Hot Process
The main disadvantage is “looks.” Cold-process soaps look more like traditional bar soap—fully opaque. Hot-process soaps are more translucent.
This translucence comes from the cooking process reducing the number of crystals formed within the soap as it cools. Some soap crafters consider this “rustic” appearance a disadvantage.
I don’t. It’s my assurance that the soap will be gentle, even if I made the soap the day before. No matter how long it’s been since I made the soap, cooking to the ‘vaseline’ stage, ensures no lye is left to burn your skin.
The Ingredients I Use
Part of my journey has been the search for an eco-friendly formula. This one reason my formula has changed since my days in Bella Coola. While that recipe worked, I’ve since tweaked it to improve the qualities of my soap.
I want good cleansing value, without compromising skin conditioning. I also keep the oils that are prone to rancidity lower than those that have natural shelf stability. (That’s why you won’t find flax seed oil in my soap.) Finally, I’m skeptical of hype, so I just want to work with proven ingredients.
Coconut Oil – Cocos Nucifera Oil
This oil is great for producing lather, cleaning and making soap hard. However, too much dries the skin, so even though I use more of this oil than any other, I’ve added the others to conteract this tendency.
Canola Oil – Brassica Campestris Seed Oil
This oil supports a creamy lather, while also moisturizing. It’s also resistant to going rancid because of its mono-saturated fat profile.
Soybean Oil – Glycine Soja Oil
This oil helps keep the cost of the soap lower, while simultaneously contributing moisturizing properties to the final bar of soap..
Olive Oil – Olea Europaea Fruit Oil
This oil produces a very mild soap, which begins as a soft soap, but over time hardens into a long-lasting soap when used alone. In this soap formula, it reduces the stripping strength of the coconut oil so the soap is gentler on the skin.
Lye – Sodium Hydroxide
Without lye, there would be no soap. This is an essential ingredient. When you dissolve sodium hydroxide in water and stir the lye mixture into the oils, it transforms the oils into soap. This process is called saponification.
Apricot Kernel Oil – Prunus Armeniaca Kernel Oil
This oil conditions. However, it goes rancid quickly, so I’ve limited how much I use.
Cocoa Butter – Theobroma Cacoa Seed Butter
This oil adds a lotion-like feel to the lather. It also aids with hardening the soap so it lasts longer.
Castor Oil – Ricinus Communis Seed Oil
This oil is too good to waste as a laxative. It helps to harden the bar. However, it’s real benefit is how it complements coconut oil’s lather. Before I added this oil, the lather in my soap wasn’t nearly as emolient.
Essential Oils and Absolutes
These oils add scent and preservative qualities to the soaps. I don’t use fragrance oils as they usually mean a laboratory produced them artificially. There are some natural fragrance oils however. (I especially like a pear fragrance oil that I purchased from Essential Wholesale in Portland, Oregon.)
Stearic Acid
This vegetable based product helps firm up the bar of soap. I add it to compensate for the soft apricot kernel, soybean and canola oils in the soap recipe.
Sodium Lactate
This vegetable based product helps the bar of soap firm up, as well as helping the hot soap stay fluid long enough to add colors and swirl patterns in the soap. (Lactate does not come from milk sugar, even though it sounds like the English word we use to describe nursing.)
Clays
My original formulas contained nothing except oil, water, lye and essential oils. Now I use clay for
Kaolin clay helps fix the scent so it lasts longer. It also contributes whiteness to the soap in some of the bars.
Bentonite clay also helps fix the scent so it lasts longer. It also contributes a pale green/grey color to the soap in some of the bars.
Colorants
Only natural, cosmetic grade colorants make into my soaps. No coal-based dyes or food coloring.
Most of the colors are made of mica, titanium dioxide and/or iron oxides.